Step-by-Step Guide: How to Repair Roof Shingles Like a Pro
Step-by-Step Guide: How to Repair Roof Shingles Like a Pro

Your roof is one of the most critical components of your home, providing essential protection from the elements. Over time, roof shingles can become damaged due to weather conditions, wear and tear, or unforeseen events.
Knowing how to repair roof shingles can save you time and money and extend the life of your roof. This guide will take you through the process of repairing roof shingles, from identifying the damage to ensuring a professional-quality finish.
Survey the Damage
Identifying Shingle Damage
Before diving into repairs, it's essential to thoroughly inspect your roof. Look for missing, cracked, curled, or granule-less shingles.
Pay special attention to areas around chimneys, skylights, and vents, which are more susceptible to leaks. Use binoculars to get a closer look from the ground if climbing the roof feels unsafe.
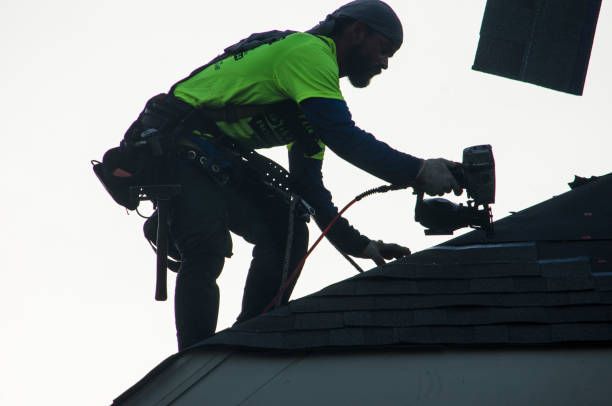
Safety First
Safety is paramount when working on your roof. Use a sturdy ladder, wear non-slip shoes, and consider using a safety harness. Avoid working in wet or windy conditions, and always be mindful of electrical lines.
Gather Your Tools and Materials
Essential Tools
- Pry bar
- Hammer or roofing nailer
- Roofing nails
- Utility knife
- Roofing cement
- Replacement shingles
- Caulking gun
Replacement Shingles
Ensure you purchase shingles that match your existing ones in type, size, and color. This will maintain your roof’s aesthetic and ensure a seamless repair.
Removing Damaged Shingles
Breaking the Seal
Carefully lift the edges of the surrounding shingles to break the seal. Slide a pry bar under the damaged shingle and gently lift it to expose and remove the nails. Work slowly to avoid damaging the surrounding shingles .
Removing Nails
Once the nails are exposed, use the pry bar to lift and remove them. If the shingle doesn’t come out easily, apply more leverage carefully until it loosens.
Installing New Shingles
Positioning the New Shingle
Slide the replacement shingle into the vacant spot, ensuring it aligns perfectly with the neighboring shingles. This alignment is crucial for both appearance and functionality.
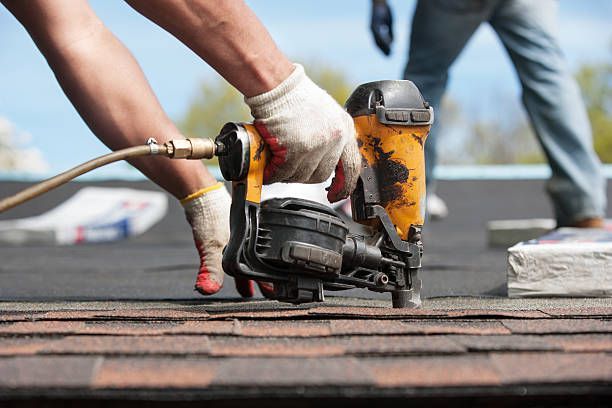
Nailing the Shingle
Secure the new shingle with roofing nails, placing them just below the tar strip. Typically, four nails per shingle are adequate, but ensure they are covered by the row above to prevent water infiltration.
Sealing and Securing
Apply roofing cement under the edges of the new shingle to create a watertight seal. Use a caulking gun for even application. Additionally, consider using a sealant spray for added protection against moisture and UV damage .
Long-Term Maintenance Tips
Regular Inspections
Conduct bi-annual inspections of your roof, ideally in spring and fall, to catch any potential issues early. Look for signs of wear, damage, or debris accumulation.
Cleaning and Debris Removal
Keep your roof clean by regularly removing leaves, branches, and moss. Consider installing zinc or copper strips to inhibit moss and algae growth.
Prompt Repairs
Address minor damages promptly to prevent them from escalating. Replace or repair damaged shingles immediately to maintain the integrity of your roof .
Conclusion
Repairing roof shingles is a valuable skill that can save homeowners significant money and prevent extensive damage. By following this guide, you can confidently address minor roof issues before they become major problems. Always prioritize safety and don't hesitate to call a professional if the job seems too complex or dangerous.
For more comprehensive repairs and to learn more about how to repair roof shingles, consider consulting with Spring Valley Roofing. Our experts are ready to assist you with any roofing needs, ensuring your home remains protected and secure.