Installing Built-Up Roofing: A Comprehensive Tutorial
Installing Built-Up Roofing: A Comprehensive Tutorial

Introduction
When it comes to durable and reliable roofing systems, built-up roofing (BUR) stands out as a top choice. This multi-layered roofing method has been used for over a century, known for its excellent performance in protecting buildings from harsh weather conditions. Whether you're a DIY enthusiast or a professional roofer, understanding how to install built-up roofing can significantly enhance your skill set and ensure the longevity of your roof. This article provides a detailed, step-by-step guide on the installation process, offering insights and practical tips to make the task manageable and successful.
What is Built-Up Roofing?
Built-up roofing, often referred to as BUR, consists of alternating layers of bitumen (asphalt, tar, or cold-applied adhesive) and reinforcing fabrics. This creates a finished membrane that is durable, weather-resistant, and effective in sealing the roof against leaks. The top layer usually consists of gravel or a mineral cap sheet to protect the underlying layers from UV rays and mechanical damage.
Preparation and Safety Measures
Before diving into the installation process, it's crucial to prepare adequately. Here are the essential steps:
- Inspection: Check the roof deck for any damage or rot. Ensure it's clean, dry, and capable of supporting the new roof.
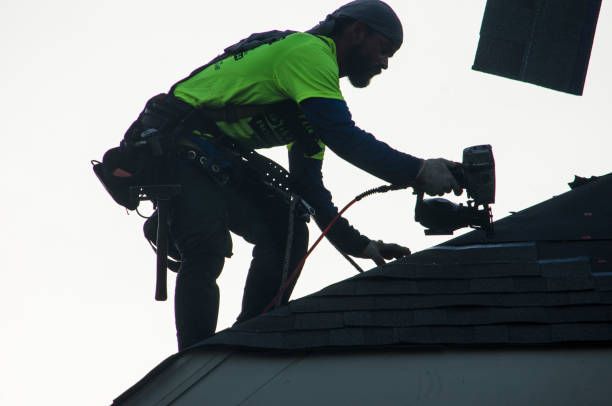
- Safety Gear: Equip yourself with appropriate safety gear, including gloves, goggles, and non-slip shoes.
- Weather Conditions: Choose a dry, calm day for installation. Weather conditions can significantly impact the quality and safety of the installation process.
Step-by-Step Installation Guide
- Install Roof Deck Protection
Begin by installing a layer of roof deck protection, such as roofing felt or a synthetic underlayment. This provides an additional barrier against moisture and helps smooth out the surface. - Apply Base Sheet
Roll out the base sheet over the roof deck protection, starting at the lowest edge of the roof. Secure it with nails or a mechanical fastener, ensuring it is flat and wrinkle-free. The base sheet serves as the foundation for the subsequent layers. - Prepare and Heat Bitumen
For traditional hot-applied BUR systems, heat the bitumen in a roofing kettle to the manufacturer's recommended temperature. Ensure the bitumen is at the right consistency to be applied evenly. - Lay First Ply Sheet
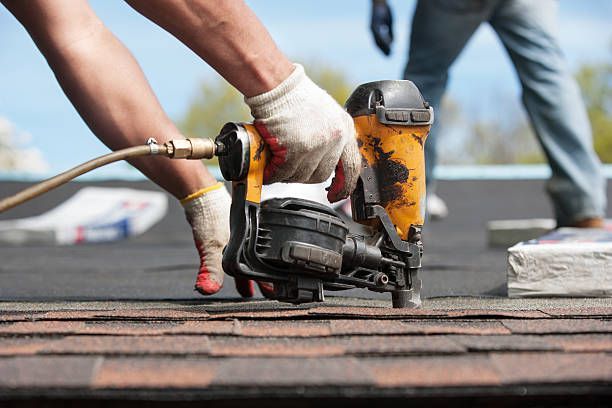
Apply a layer of hot bitumen onto the base sheet, then immediately roll out the first ply sheet into the hot bitumen. Use a weighted roller to press the ply sheet into the bitumen, ensuring full adhesion and eliminating air pockets. - Add Additional Layers
Repeat the process of applying bitumen and ply sheets until the desired number of layers is achieved. Typically, a built-up roof will have three to five layers, depending on the required durability and insulation. - Install Surfacing Layer
Once the final ply sheet is in place, apply a final coating of bitumen. While the bitumen is still hot, spread a layer of gravel or mineral granules over the surface. This surfacing layer protects the underlying layers from UV damage and adds weight to keep the materials in place.
Tips and Best Practices
- Consistent Heating: Maintain consistent heating of the bitumen to ensure uniform application.
- Overlap Sheets: Overlap the ply sheets by at least 4 inches to ensure a continuous and watertight seal.
- Regular Maintenance: Inspect the built-up roof regularly for signs of wear and tear. Promptly address any issues to extend the roof's lifespan.
Implications and Broader Context
Built-up roofing is not only a practical choice for its durability and weather resistance but also a reflection of a building's commitment to long-term sustainability. By choosing BUR, property owners can reduce the frequency of repairs and replacements, thus minimizing waste and resource use. Additionally, the gravel or mineral cap layer can reflect solar radiation, potentially reducing cooling costs in warmer climates.
While BUR systems have stood the test of time, advancements in materials and installation techniques continue to improve their performance. Considering these innovations, it's essential to stay updated with the latest best practices and technological developments in the roofing industry.
Counter Arguments and Perspectives
Some critics argue that built-up roofing can be more labor-intensive and time-consuming compared to single-ply roofing systems. While this is true, the longevity and robustness of BUR often justify the additional effort. Furthermore, with proper installation and maintenance, BUR can outlast many other roofing options, offering better long-term value.
Another perspective is the environmental impact of bitumen, a petroleum-based product. However, advancements in cold-applied adhesives and the use of recycled materials in roofing felt and ply sheets are helping to mitigate these concerns, making BUR a more eco-friendly choice over time.
Conclusion
Installing built-up roofing requires careful preparation, attention to detail, and adherence to safety practices. By following the steps outlined in this guide, you can achieve a durable and reliable roofing system that protects your building for decades. As you consider your next roofing project, remember the benefits of BUR and how it fits into the broader context of sustainable building practices.
Are you ready to take on the challenge of installing built-up roofing? Consider how the longevity and resilience of BUR can enhance your property. If you're also interested in maintaining your outdoor spaces, learn more about [how to clean artificial turf] for a complete property care solution.